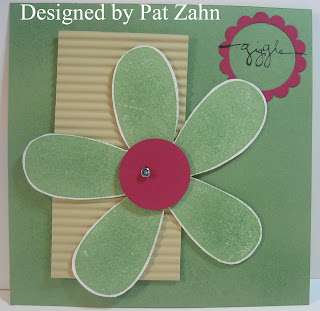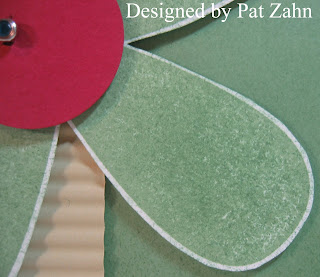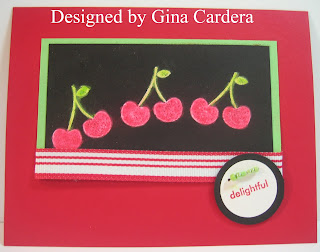


 STIPPLING
 THUMPING
 FAUX POSTAGE
  RUBBER CEMENT
 SHAVING CREAM Spray shaving cream into a pan. Add several drops each of 2-3 classic ink refills. Swirl colors with a plastic knife or skewer. Place cardstock on top of the shaving cream. Press down gently. Remove card, scrape off excess shaving cream and dry for a fun background of color.
 ROCK & ROLL
Choose two coordinating colors of classic ink. Ink the stamp in the lighter color. Roll the edges of the stamp in the darker color of ink. Then stamp the image onto cardstock for a two-toned effect. WATERCOLOR CRAYONS
Watercolor and shimmery white cardstock are best for watercoloring. Add color to stamp using the crayons. Wet the stamp using the aqua painter or a fine spritzer. Stamp onto paper. Wet the paper first if desired. For a background or to color an image, pick up color directly from the crayon with a wet brush or aqua painter.
 FOSSIL STONE
Using a page protector, cut off the top and one side so that it opens like a book. Press one classic pad all over the inside of one side of the page protector. Press a different color on the opposite inside of the page protector. Close the pages together to mix the ink. Open, place your glossy cardstock inside and close again. Run your brayer over and open. You can do 2 pieces of glossy cardstock at the same time by placing them back to back before you put them inside the page protector. EMBOSSED PASTELS
Stamp images in Versamark Ink on dark cardstock. Emboss with white embossing powder. Take a blender pen and dip into Stampin’ Pastels. Color over the embossed images and let dry. This is a pretty cool technique we learned at Leadership this year. Use staples and add your beads. I love this technique!!
 MISTING Gently spray cardstock using a spritz bottle of water. Immediately stamp using classic ink pads. Another option is to ink up the stamp and spray the rubber before stamping. Or, spray the paper immediately after stamping. (Circle background is misted on watercolor paper. Not my favorite technique. I think this turned out ok but I think I would like just a plain stamped background for the future.)


 Have you ever tried this??!!?? It couldn't be simpler! All you need to do is stamp directly on T-Shirt Transfer paper, cut out and iron onto your t-shirt! I think the images turned out great! For the center, larger flower I used a SU! Craft pad in Baroque Burgundy and for the smaller flowers and the leaves I used Classic Pads in Wild Wasabi and Groovy Guava. You can tell the difference in the images. The Craft images are much more solid whereas the Classic pad images are a little modeled looking. I like both images and will use both types of pads in the future depending on how I want them to look. Here's a picture of the images close up. I didn't take a picture of the whole t-shirt because it's an old t-shirt I just used to practice on. I hope you give it a try. When I make a full t-shirt I'll definitely share with you. Happy creating! Lorraine


 Happy Friday. Along with some traditional cards this year we got some really pretty stamped cards and I just wanted to share them with you. Thank you to my sweet friends for sending these! And, thank you to everyone else that sent us cards. ALL of the cards are very beautiful and really made our holidays brighter!
 Here's another gorgeous card created using the LCR120701 Sketch!! Don't ya' just love it??!!?? Thanks so much Sue for your beautiful card! Can you believe this is Sue's FIRST EVER SKETCH CHALLENGE??!! WOW! I think she needs to do more of these challenges! To see more of Sue's awesome work you can check out her blog here: http://hotpawscreations.blogspot.com/